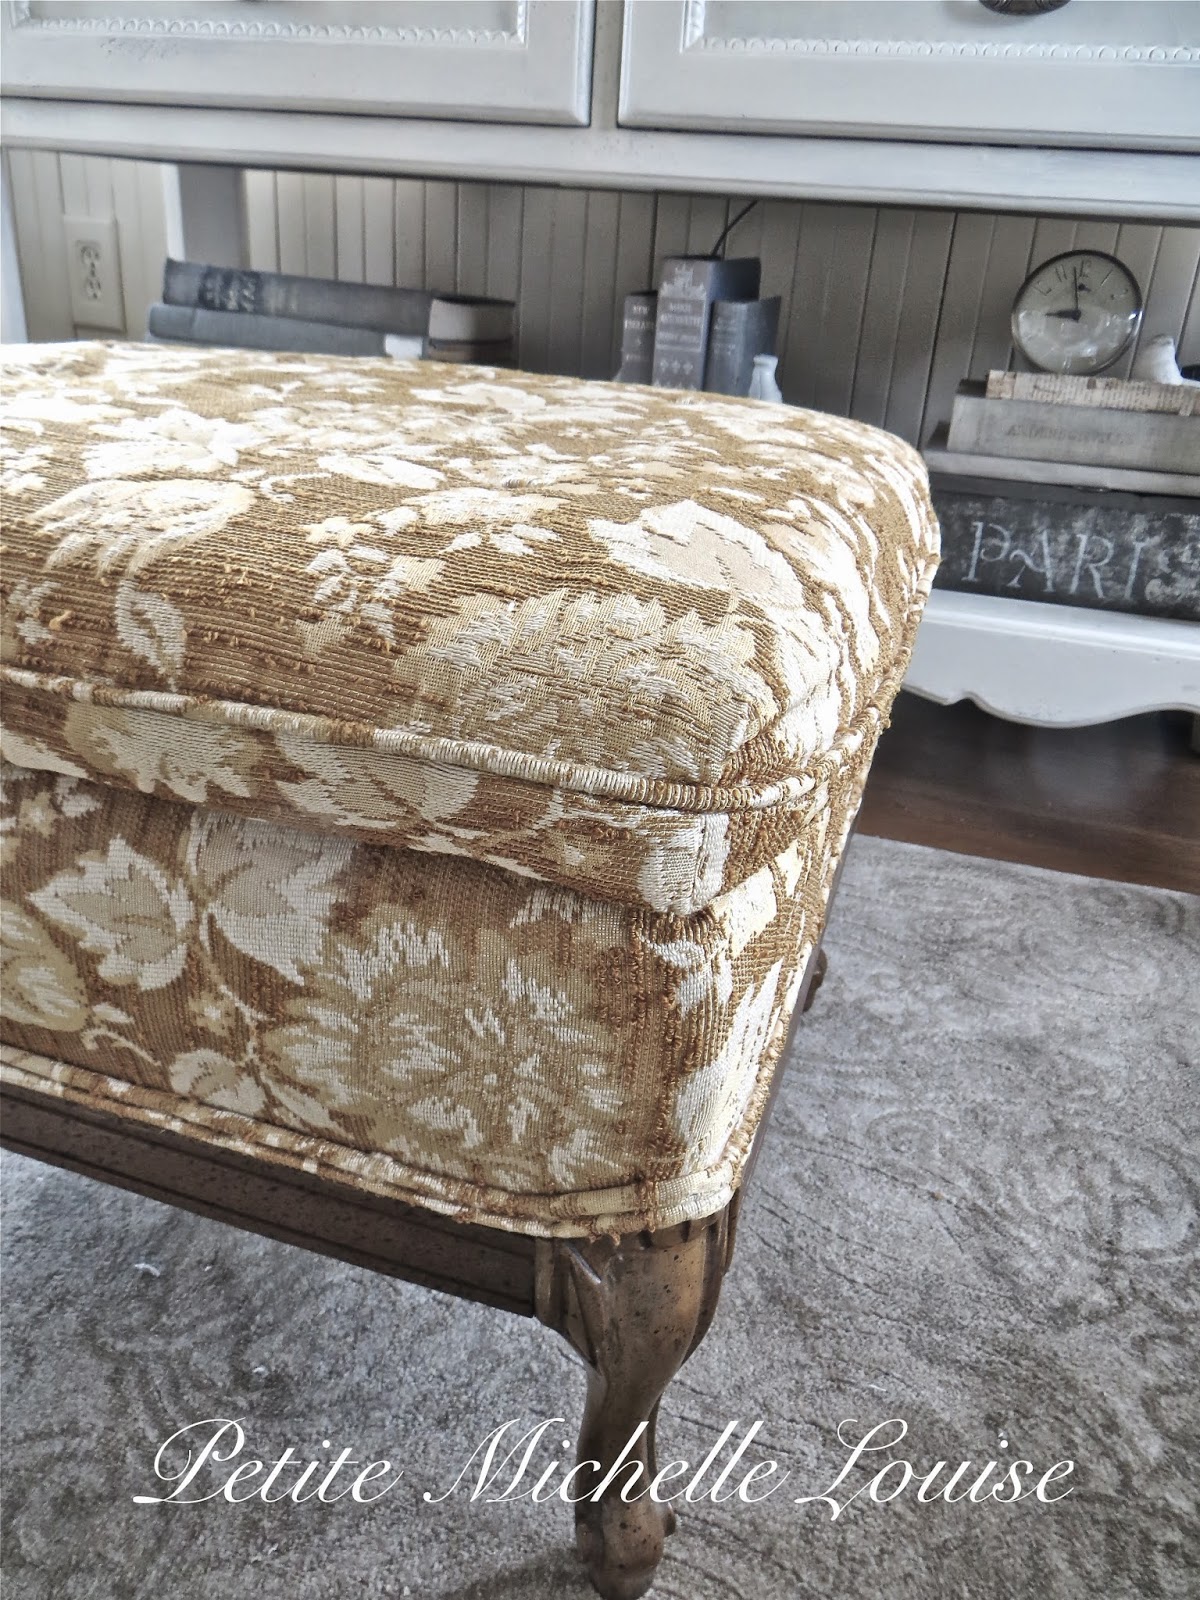
I found an old hassock at a thrift store recently. It had really good "bones"...
...and I loved the elegant shape of the legs
...and for 15 bucks, HOW could I leave it behind?
First up, I painted the woodwork...
...I used "Bone White" by Valspar in a Semi-gloss finish.
Valspar is a primer and paint all in one so 2 coats did the job just fine.
Next...I draped a piece of painter's drop cloth over the hassock and let it drape down to where I wanted it to "fall" and then cut it on all 4 sides.
**Painter's drop cloth has no "right" or "wrong" side but if your fabric does, be sure the "right" side of the fabric is FACING the hassock.
**I knew I'd be adding a trim to my slipcover so I cut it right at the point where the fabric met the woodwork.
**If you don't want to add a trim, then add about an inch onto your cut piece to allow for your hem.
(for a tutorial on how to bleach and soften drop cloth, go HERE)
Gather your fabric at each corner and pull tight .
Use straight pins to mark where you'll be sewing.
Cut off the excess fabric.
Sew a straight stitch along your pin lines.
Turn your slipcover inside out and it should look like this........
I decided to stencil a design onto the slipcover. You can do this BEFORE you sew your slipcover but I thought it would be easier to "center" my design AFTER I sewed the slipcover.
I used a large piece of heavy cardboard under where I'd be stenciling so I would have a firm surface to work on.
~*~ Painted Slipcover Tutorial~*~
~ Paint: I used an interior latex paint in a satin finish:
"Cathedral Stone" by Valspar
~ Masking Tape
~Stencil of your choice..I found mine at Michael's
Tape down your stencil ...(I used masking tape)....
Dip the brush into the paint and “blot” on several
sheets of paper towel.
~*~You can always go back and make your
design darker but you can't go back and make it
lighter...right?
Let dry completely and pull off your stencil. 
Now for the trim.....
I chose my favorite vintage crocheted lace and used a straight stitch to sew it to the raw edge of the slipcover.
Here's how the slipcover looked BEFORE I decided to make ONE more change.....
Kinda "boxy-looking" right??
I really liked the "tufted" look of the original hassock so I decided to "tuck" my slipcover under the tufted portion of the hassock.
Oh yes...I liked it A LOT better...
...but now I needed to cover the exposed original upholstery.
I decided to make a skirt using more of the painter's drop cloth.
I measured from the inside seam of the tufting to where I wanted my skirt to fall...
...which was right where the woodwork began. This would be the "width" of my cut piece.
I then measured the circumference of my hassock and added about 5" per corner to account for the fabric that would be needed to "turn the corners." This would be the "length" of my cut piece.
**If you prefer a more "ruffled look" to your skirt than add at least 24" more fabric to your cut piece.
I made things simpler by using the already-hemmed sides of the painter's dropcloth.
**If your fabric is "unfinished" then you'll need to add 1" onto your fabric's "width" to account for the hem.
Now...I decided that I'd like the top part of my slipcover to be removable so that I could wash it from time to time. BUT.....I figured the skirt wouldn't get too dirty so I simply used a glue gun to glue it under the tufting....(this also saved me the step of sewing it onto the top slipcover)
For the corner, I simply folded the fabric over twice and glued down....
...and then continued gluing & tucking my skirt all around...repeating the "folding over & tucking" at each corner.
And this is what the skirt looked like when I was finished with my handy dandy glue gun!
Then I simply slipped the original slipcover I made over the hassock and tucked it under the tufted top.
I used straight pins to hold it in place (hidden under the tufting) and this will also allow me to remove the slipcover to wash when needed.
**If you have small children, DO NOT use the pins. I would suggest gluing or taping.
Ouila!
TIP: If you don't sew, why not use "Stitch Witchery"? Simply follow the directions on the packaging and apply the Stitch Witchery Tape to wherever my sewed seams are.
Do “stay tuned” as I will be sharing more DIY projects from my
“Spruce Up La Maison PML" adventure!


